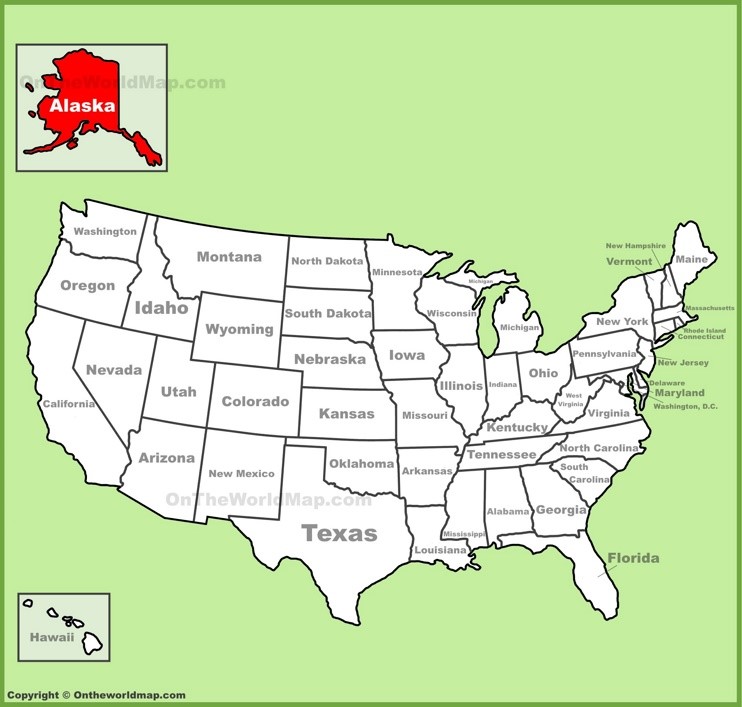
Alaska’s Date of Statehood – January 3rd, 1959
We are almost to the end of the blog and what we need is a trip to the great white north! Let us marvel at the massive moose, the great expanse of snow blanketing the terrain, and the most beautiful dancing lights of the Aurora Borealis all while eating some tasty crab legs! Alaska is one of those wild adventures that is a bucket list destination. So, lets feast on some tasty treats and dream of a winter wonderland!
Tips and Tricks
King crab cooks up best by steaming, boiling, or baking.
- Thawing: Thaw your crab before cooking, either overnight in the refrigerator or by running it under cold water the day you’re cooking it. Check for thawing by squeezing the biggest section of the leg — it should “give” a little.
- Steaming: Cover and steam thawed snow crab for 5 to 7 minutes, king crab for 4 to 8 minutes.
- Boiling: Add spices and seafood or other seasonings to boiling water to give your crab extra flavor. Bring a pan of water to a boil. King crab takes only 4 to 6 minutes.
- Baking: Wrap the crab in a double sheet of aluminum foil, and then roll up the top, leaving a small hole for the steam to escape. Bake king crab for 4 to 7 minutes.
- Grilling: Wrap thawed crab in a doubled foil wrap or packet and seal it. Place about four to six inches from a medium-high heat source and cook for 6-8 minutes. Time may vary depending on grill.
- Broiling: Put crab on a cookie sheet and place sheet 7-8 inches from the broiling element for about 4-6 minutes.
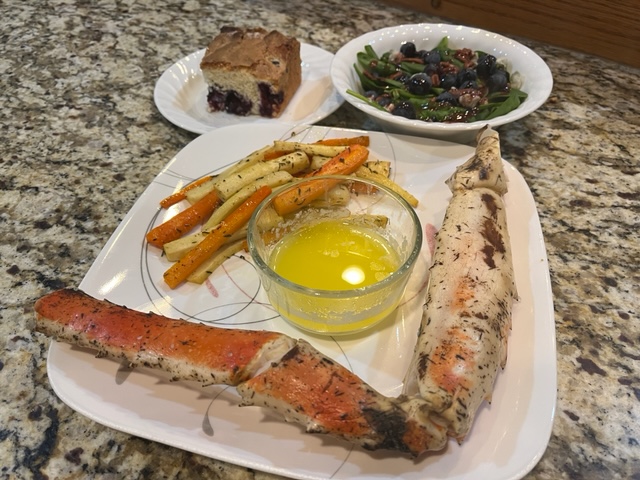
Steamed Alaskan King Crab Legs
Serves 2
- 2 Whole Alaskan King Crab Legs
- Butter, melted
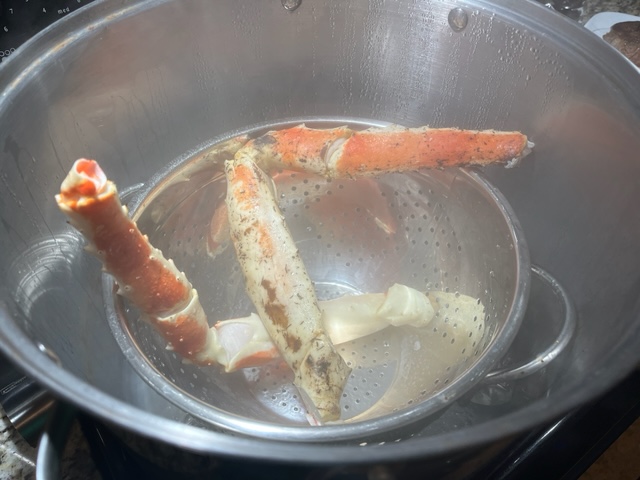
Step 1: Place a large pot on the stove. Add a metal colander or steamer basket to the pot and add an inch or 2 of water, making sure that the water is not in the steamer basket. You can add balled-up pieces of aluminum foil to the pot first the keep the steamer basket off of the bottom of the pot. Turn the heat to HIGH and allow the water to come to a rolling boil.
Step 2: Once the water is boiling, add the crab legs to the steamer basket, cover, and steam for 5 minutes, or until just heated through.
Step 3: Remove the crab from the pot and serve hot with melted butter for dipping.
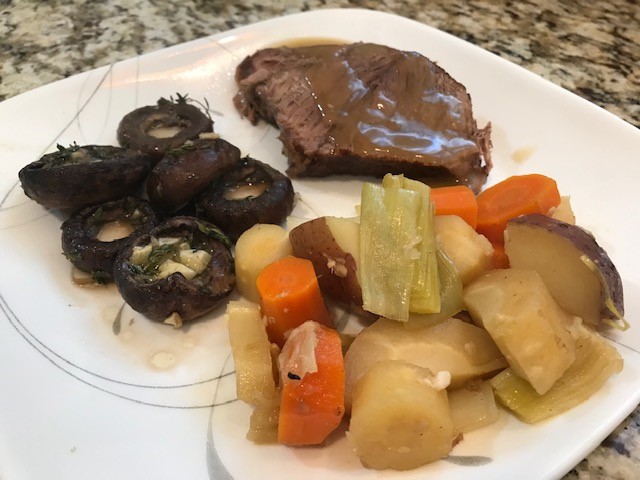
Maple Roasted Carrots and Parsnips
Serves 4
- 1 lb. Carrots, peeled and cut into sticks
- 1 lb. Parsnips, peeled and cut into sticks
- 3 Tbs Olive Oil
- 2 Tbs Maple Syrup
- 1 Tbs Whole Grain Mustard
- 1 tsp Dried Thyme
- Salt and Pepper, to taste
Step 1: Preheat the oven to 400 degrees.
Step 2: Line a large baking sheet with aluminum foil and spray with non-stick spray.
Step 3: In a small bowl, whisk together the olive oil, maple syrup, mustard, and dried thyme. Place the cut vegetables into a large, zip-top bag and drizzle most of the liquid over them. Close the bag and gently manipulate the contents until all of the vegetables are coated.
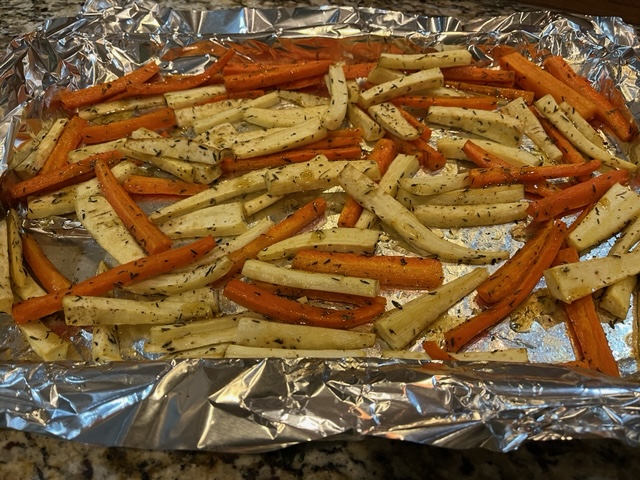
Step 4: Pour the contents of the bag onto the prepared baking sheet and spread them out into a single layer. Season everything with salt and pepper.
Step 5: Place the baking sheet into the hot oven and roast for 15 minutes. Then, gently stir and turn the vegetables on the sheet. Return the pan to the oven and roast for another 15-20 minutes.
Step 6: Remove the cooked vegetables from the oven and drizzle over the remaining oil/maple syrupy mixture and gently toss.
Step 7: Serve warm.
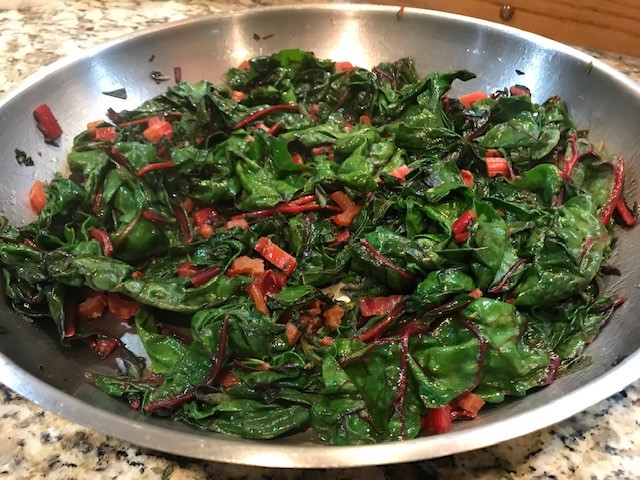
Sitka Salad
Serves 4
Salad
- 1 Package of Fresh Spinach
- 1 Cup Fresh Blueberries
- 1 Cup Blue Cheese Crumbles
- 1/ Cup Pecans, chopped
Dressing
- 1/2 Cup Fresh Blueberries
- 3/4 Cup Vegetable Oil
- 2 Tbs White Vinegar
- 2 Tbs Balsamic Vinegar
- 2 Tbs Honey
Step 1: In a food processor, combine the vegetable oil, blueberries, white vinegar, balsamic vinegar, and honey. Blend until the dressing is smooth.
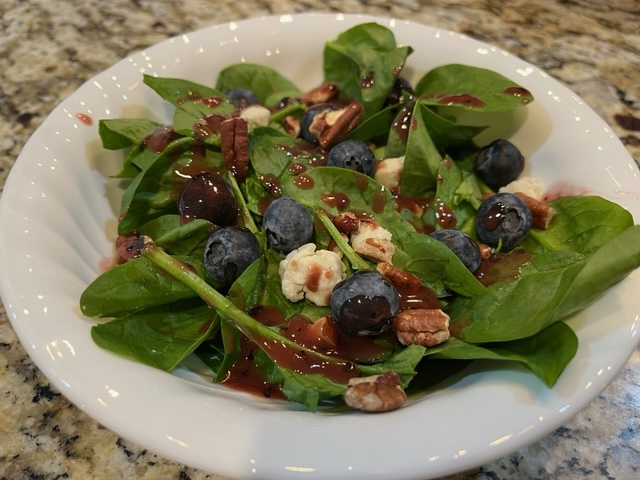
Step 2: In individual serving bowl, make a bed of spinach and top with an even amount of blueberries, blue cheese, and pecans.
Step 3: Serve the salad cold with the blueberry dressing drizzled over top.
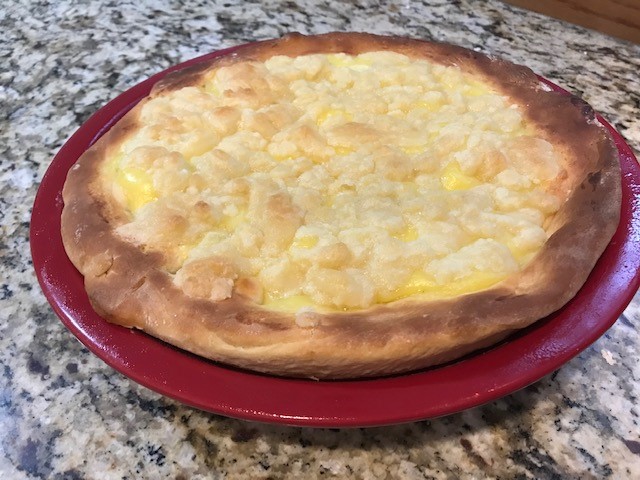
Alaskan Blueberry Cake
Serves 8-10
- 2 Eggs, whites and yolks separated
- 1/4 tsp Salt
- 1 Tbs Baking Powder
- 1 Cup Sugar
- 1 tsp Vanilla Extract
- 1/3 Cup Milk
- 1/2 Cup Vegetable Shortening
- 1 1/2 Cup Flour
- 1 1/2 Cup Fresh Blueberries
- 1 Tbs Flour
- Sugar, for topping
Step 1: Preheat the oven to 350 degrees.
Step 2: Place the eggs whites in a clean bowl and beat with a hand mixer until they are stiff. Add 1/4 cup of sugar to the mixture and mix until combined. Set aside.
Step 3: In the bowl of a stand mixer, cream together the shortening, salt, and vanilla until smooth. Then, while mixing on low slowly add in the remaining 34/ cup of sugar until combined.
Step 4: Add the egg yolks one at a time and beat until well combined. The mixture should look light and creamy.
Step 5: In a medium bowl, whisk together the flour and baking powder. Add 1/3 of the flour to the egg yolk mixture and mix. Then, add 1/3 of the milk and mix. Continue this way until all of the flour and milk have been added to the mixture.
Step 6: Once the batter has been mixed, add the egg whites and gently fold them into the mixture.
Step 7: Add the blueberries to a large bowl. Sprinkle the 1 Tbs of flour over the berries and toss them to dredge. Add the floured berries to the batter and gently fold them in.
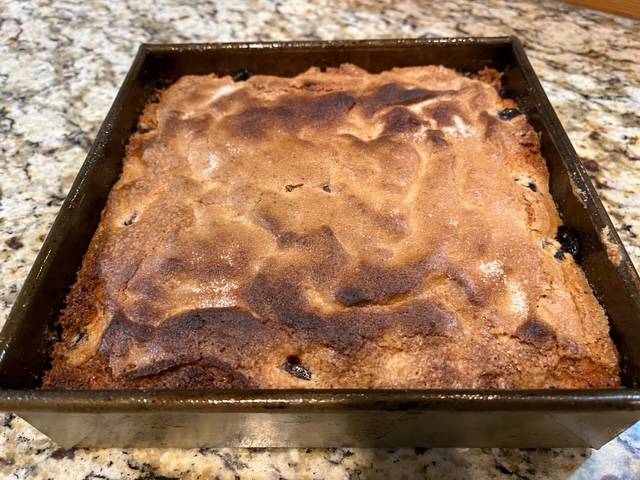
Step 8: Grease an 8-inch square pan and pour the batter into it. Sprinkle some sugar over the top of the cake and place into the hot oven.
Step 9: Bake for 50-60 minutes or until a toothpick inserted into the center comes out clean.
Fun Facts about Alaska: 1. Alaska has the lowest population density in the nation at one person per square mile. 2. The northernmost, easternmost, and westernmost points in the U.S. are found in Alaska. Point Barrow in the north and both the eastern and western points are in the Aleutian Chain. Pochnoi Point on Semisopochnoi Island in the Aleutians is considered the easternmost point and Amatignak Island is the westernmost point because it lies east of the 180-degree longitude. 3. Barrow has both the longest and shortest amount of daylight in the state. When the sun rises on May 10, it doesn’t set for nearly three months. When it sets on November 18, Barrow residents do not see the sun again for nearly two months. 4. The aurora borealis (northern lights) can be seen an average of 243 days a year in Fairbanks. The northern lights are produced by charged electrons and protons striking the earth’s upper atmosphere. 5. Of the 20 highest peaks in the U.S., 17 are in Alaska, including the highest peak in North America (20,320 feet above sea level), Denali. 6. Alaska has more coastline than the rest of the U.S. combined (more than 34,000 miles.) 7. The nation’s two largest forests are located in Alaska. The Tongass in Southeast includes 16.8 million acres and Chugach in Southcentral has 4.8 million acres.