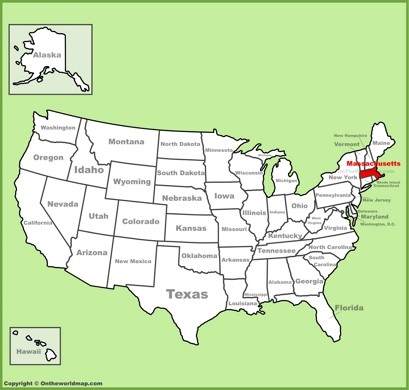

New Hampshire’s Date of Statehood – June 21, 1788
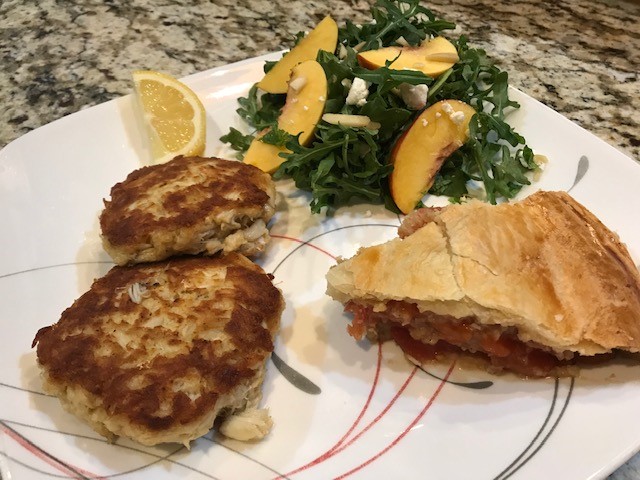
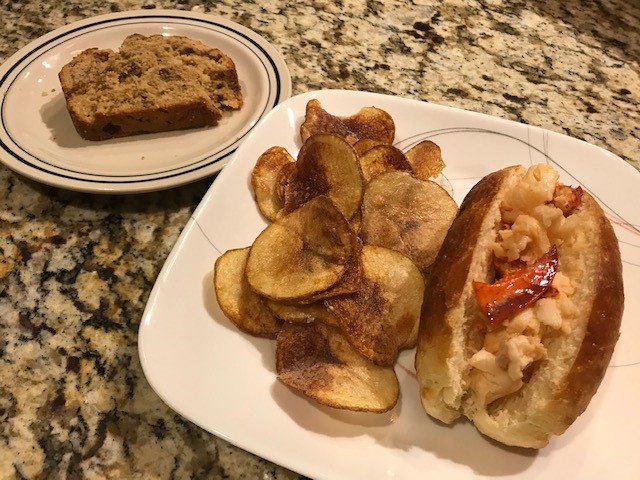
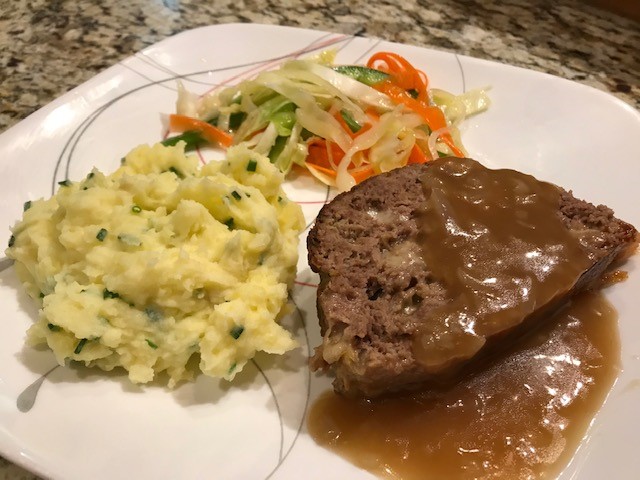
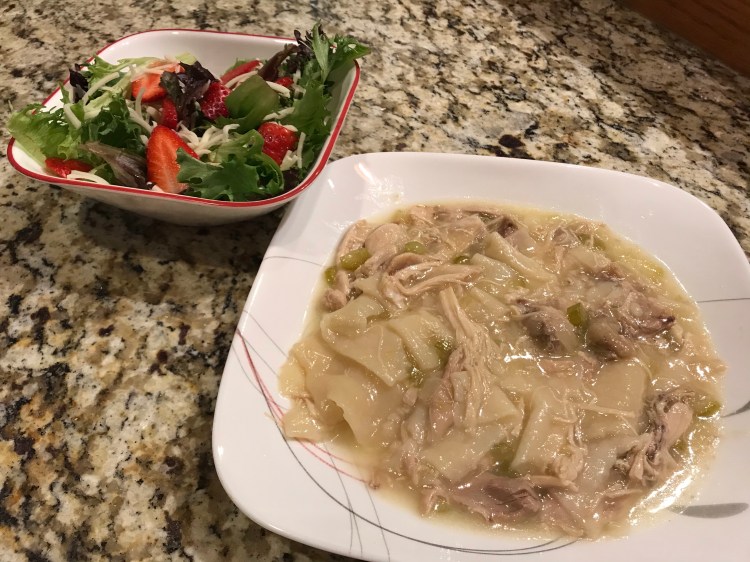
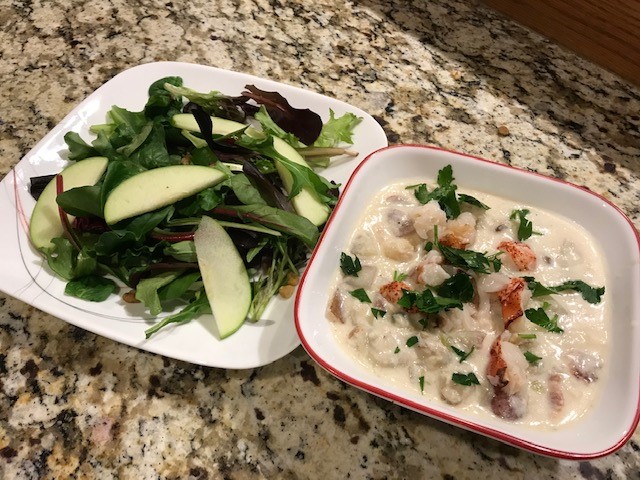
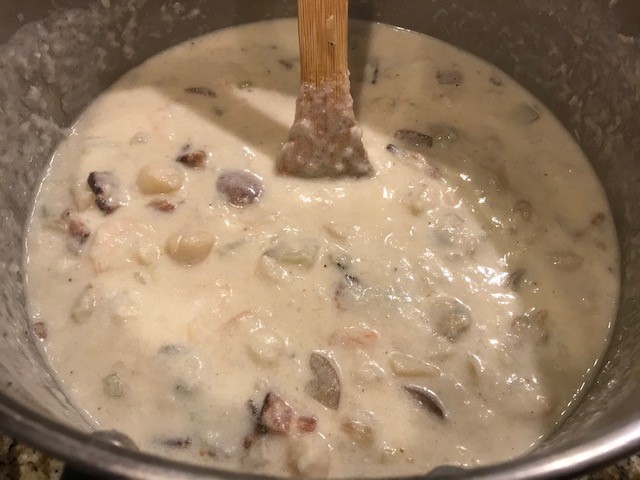
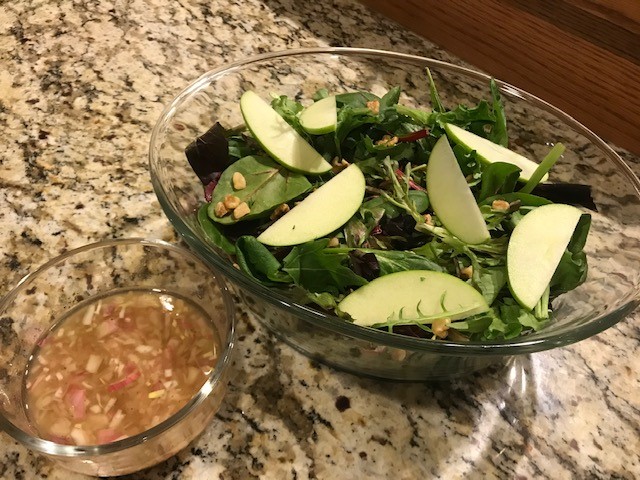
Nothing celebrates the culinary triumphs of the Northeast quite like a good “chowdah.” This seafood chowder comes from a lobster house in New Hampshire that has been around since the 1940’s. It is an absolutely decadent, rich feast of fresh seafood swimming in a thick broth with just a hint of bacon and potatoes. The maple-mustard dressing on the salad is a tasty, acidic compliment to the velvety chowder. We used this meal as a birthday celebration, and it did not disappoint!
Tips and Tricks
- For chowder HIGH HEAT IS BAD. Once the cream/milk is added, everything should be brought to a simmer and kept cooking on LOW heat. Yes, this takes a good deal longer, but if you increase the heat, you’ll curdle the milk, which leads to a yucky chowder.
- When reheating, pour the amount of soup you want into a saucepan and heat it up on LOW heat, slowly. As stated before, any higher and you’ll curdle the dairy. Yuck!
- Use scissors to extract the cooked lobster meat from the tails. Beware of the lobster shells. They are sharp and will cut you if you aren’t careful.
- Don’t pour bacon grease down the drain! If you aren’t going to save it for later cooking, then dispose of the grease in the trash. First, let the grease cool. Second scrape it into the trash with a paper towel.
- If the idea of shucking 2 dozen clams makes you hesitant, then just buy the whole, cooked, frozen clams and add them (still frozen) to the chowder when you add the other seafood,
- If you cannot find Haddock, Cod makes a good substitute.
- When boiling your lobster tails, cook them for 1 minute per ounce. So, if the tails you have a 4 oz. each, boil them for 4 minutes. The lobster is cooked when the shells are bright red and the meat is opaque.
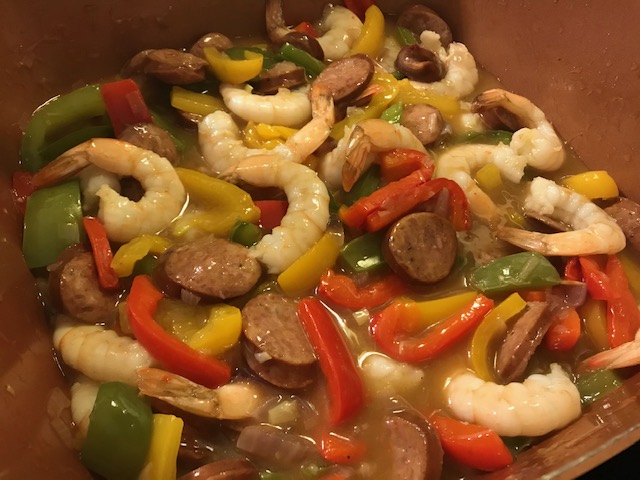
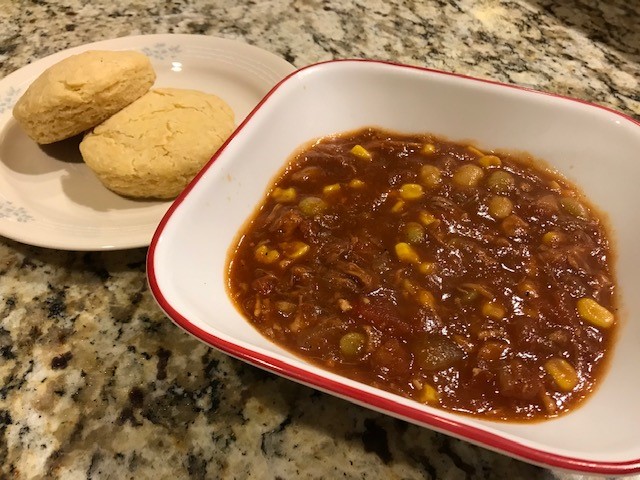
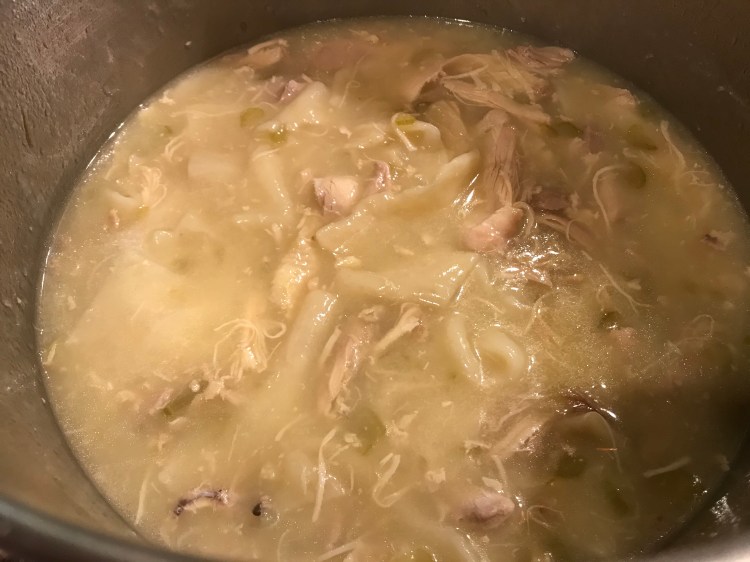
Seafood Chowder with Lobster
Serves 6-8
- 4 Small (4 oz) Lobster Tails
- 4 1/2 Cups of the Lobster Tail Cooking Water
- 3 Cups Diced Red Potatoes, skin on
- 4 Strips Thick-Cut Bacon, diced
- 4 Tbs Butter
- 1 Medium Yellow Onion, peeled and diced
- 2 Ribs of Celery, leaves and root removed and diced
- 1/4 Cup All-Purpose Flour
- 1/2 Cup Bottled Clam Juice
- 2 Cups Light Cream
- 1 lb. Bay Scallops
- 2 Dozen Freshly Shucked Littleneck Clams
- 1 1/2 lbs. Haddock Filet, skinned and cut into 1-inch cubes
- 1 lb. Small Shrimp, shelled and deveined
- 1 Cup 2% Milk
- 1 tsp Salt
- 1/2 tsp Freshly Ground Black Pepper
- Handful of Fresh Parsley, chopped
Step 1: Fill a large pot 1/2-3/4 full of water. Bring this is a boil over high heat. Once the water has reached a rolling boil, reduce the heat to medium and add the lobster tails. Cook the lobster for 4 minutes, or until the shells are bright red and the meat is opaque and cooked through. Remove the lobster tails from the pot and set aside to cool. Once the lobster is cool enough to handle, remove the meat from the shells and chop. Remove the pot from the heat and set the lobster water aside for later use.
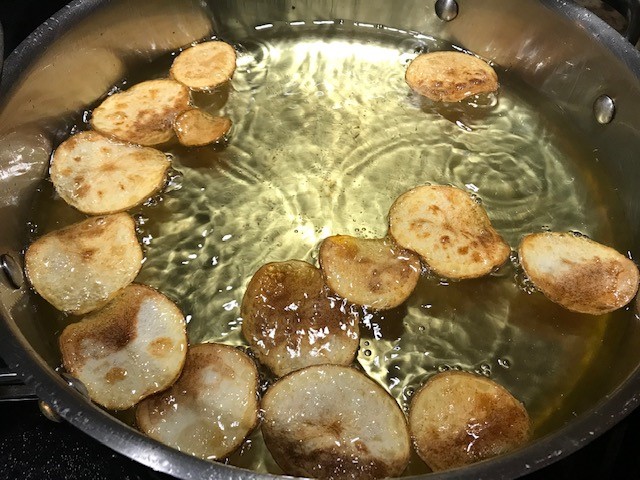
Step 2: Place the diced red potatoes in a medium saucepan. Add 4 cups of the lobster tail cooking water to the potatoes. Bring the pot to a boil over high heat. Once boiling, reduce the heat to medium and cook until the potatoes are tender, about 8 minutes. Once cooked, drain the potatoes and set aside.
Step 3: Place a large skillet on the stove. Add the chopped bacon to the cold pan and turn the heat to medium-low. Cook the bacon slowly, turning occasionally, until it is cooked and brown but not crispy, about 12 minutes. Once cooked, remove the bacon from the pan and set aside.
Step 4: Place a large stock pot over medium-low heat. Once the pot is hot, add the butter. Once the butter is melted, add the diced onions and celery and cook, stirring frequently, until the vegetables are tender, about 8 minutes.
Step 5: Add the bacon to the pot, stir, and cook for another 3 minutes.
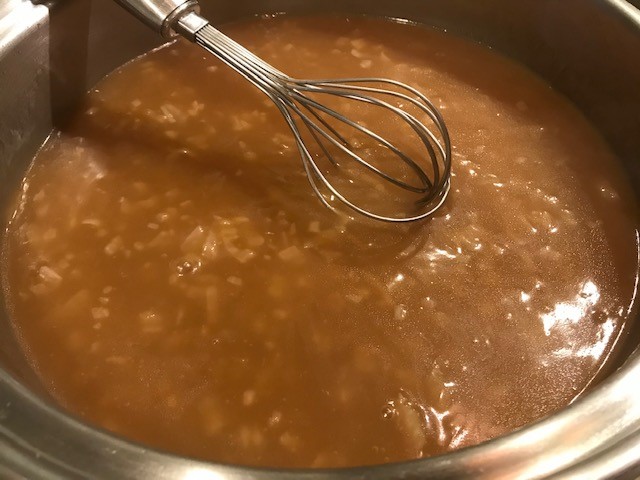
Step 6: Add the flour in small amounts, stirring briskly each time a little flour is added, to make a smooth roux.
Step 7: Reduce the heat to low and add 1/2 cup of the lobster cooking water. Stir briskly to full incorporate the liquid into the pot. Then, slowly add the clam juice and stir briskly to fully incorporate that liquid into the pot. Finally, add the 2 cups of cream, to the pot, stirring briskly to fully incorporate that liquid as well.
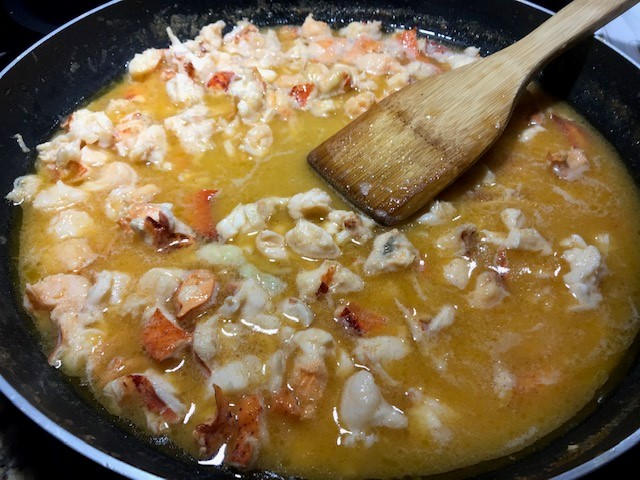
Step 8: Once the contents of the pot and fully mixed and smooth, add the scallops, clam meat, haddock, and shrimp. Stir to combine.
Step 9: Gently fold in the cooked potatoes, 2% milk, salt and pepper until well combined.
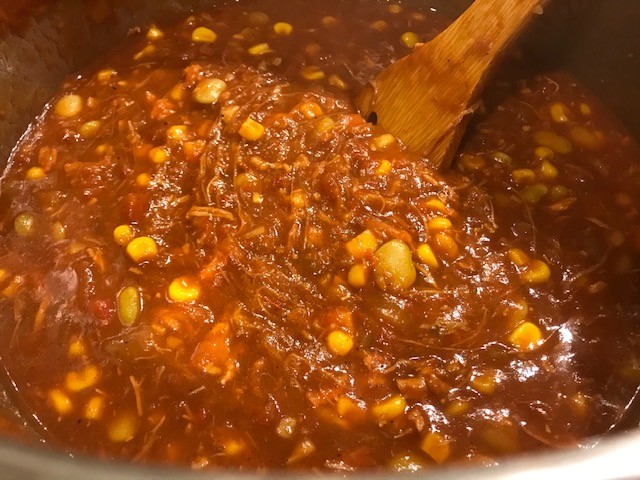
Step 10: Bring the pot to a simmer on low heat, stirring occasionally to make sure that the milk doesn’t burn. Once the pot starts to simmer, cook the chowder for 15 minutes or until the shrimp turn pink and the fish as cooked though.
Step 11: Fill your bowls with the hot chowder and add the chopped lobster meat to each bowl. Sprinkle fresh parsley over the soup and serve hot.
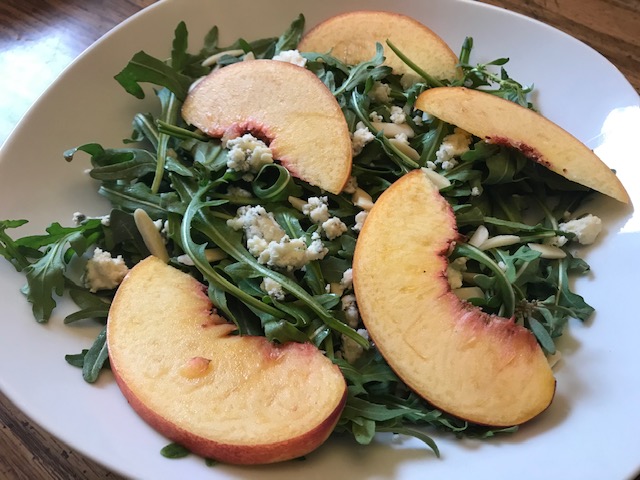
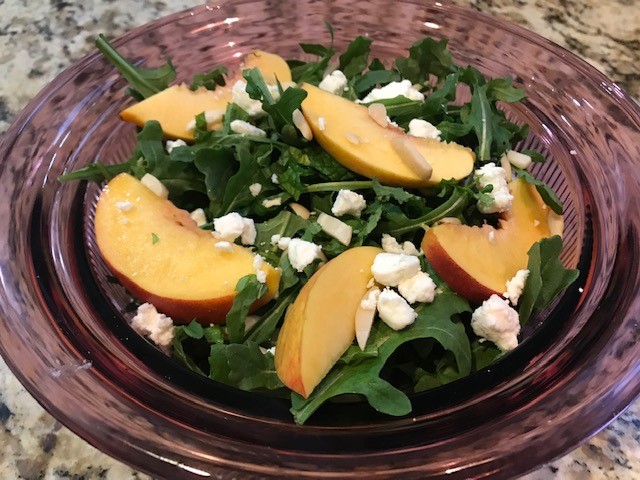
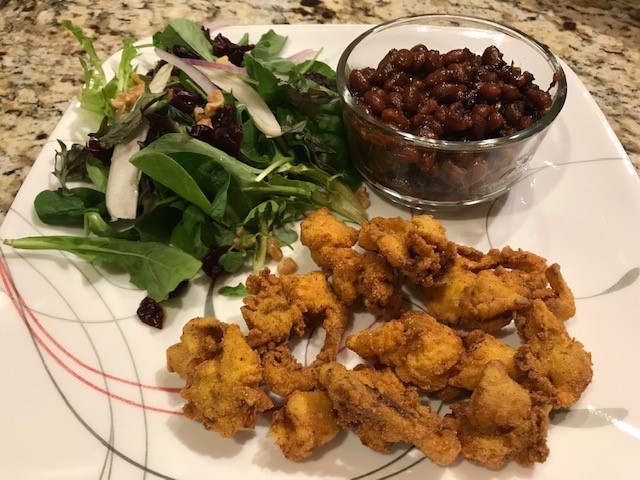
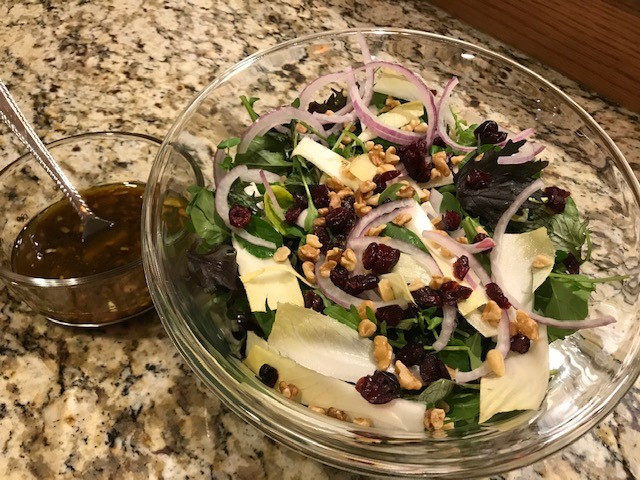
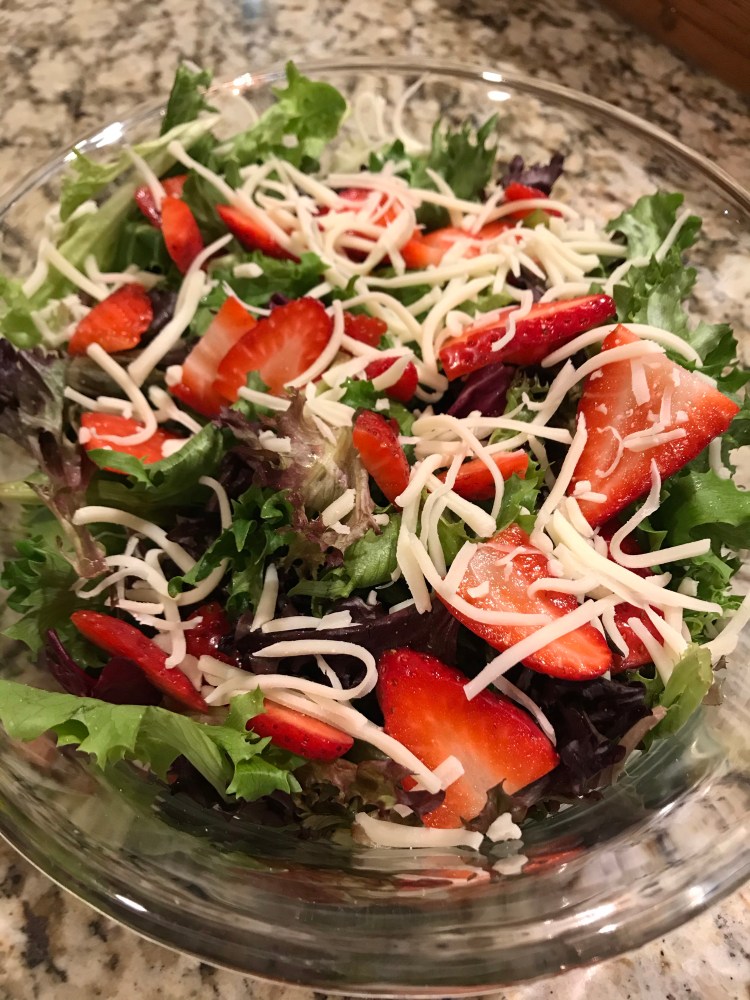
Spring Greens Salad with Maple-Mustard Dressing
Serves 4
- 2 Tbs Apple Cider Vinegar
- 1 Small Shallot, peeled and finely minced
- 1 Tbs Dark Maple Syrup
- 1 tsp Dijon Mustard
- 1/2 tsp Salt
- 1/4 tsp Freshly Ground Black Pepper
- 1/4 Cup Vegetable Oil
- 1 Small Granny Smith Apple, cored and thinly sliced
- 1/4 Cup Chopped Walnuts, toasted
- 1 Bag Spring Mix Greens
Step 1: In a medium bowl combine the minced shallots and apple cider vinegar. Allow the shallots to marinate in the vinegar for 10 minutes.
Step 2: After the shallots have marinated, add the maple syrup, Dijon mustard, salt, pepper and oil. Whisk to thoroughly combine.
Step 3: In a large bowl, gently toss the spring mix greens, sliced apple, and toasted walnuts.
Step 4: Serve cold with the maple-mustard dressing.

Fun Facts about New Hampshire: 1. The highest wind speed recorded at ground level is at Mt. Washington, on April 12, 1934. At 231 MPH, the winds were three times as fast as those in most hurricanes. 2. The first free public library supported by taxation in the world was the Peterborough, New Hampshire Town Library which was founded at town meeting on April 9, 1833. 3. The first American alarm clock was created by Levi Hutchins, of New Hampshire, in 1787. This device he made only for himself however, and it only rang at 4 AM, in order to wake him for his job. 4. Daniel Webster was a politician and statesman, born at Franklin in 1782. He was known in his day as a mighty orator, a reputation preserved in the Stephen Vincent Benet story The Devil and Daniel Webster, in which he beats the original lawyer, Lucifer, in a contract case over a man’s soul. 5. Sarah Josepha Hale author and journalist who wrote the poem “Mary Had a Little Lamb” in 1830 is from Newport, New Hampshire.