Indiana’s Date of Statehood – December 11th, 1816
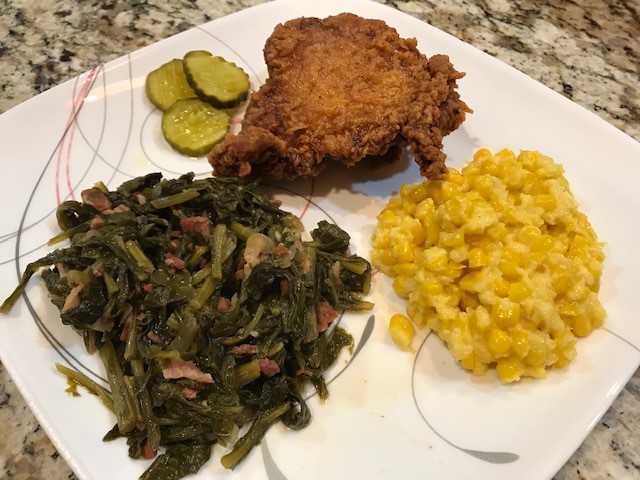
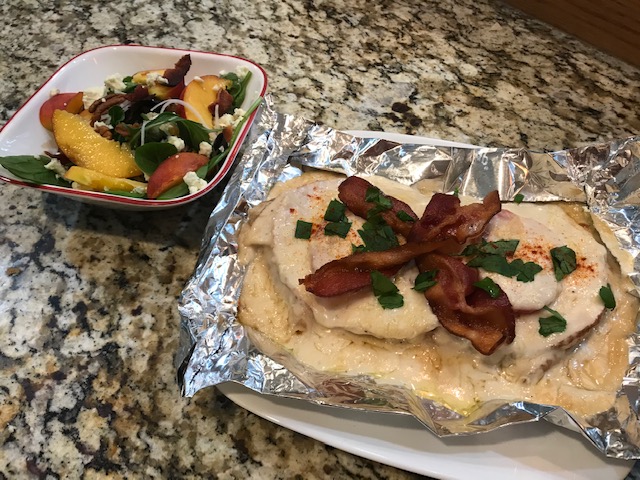
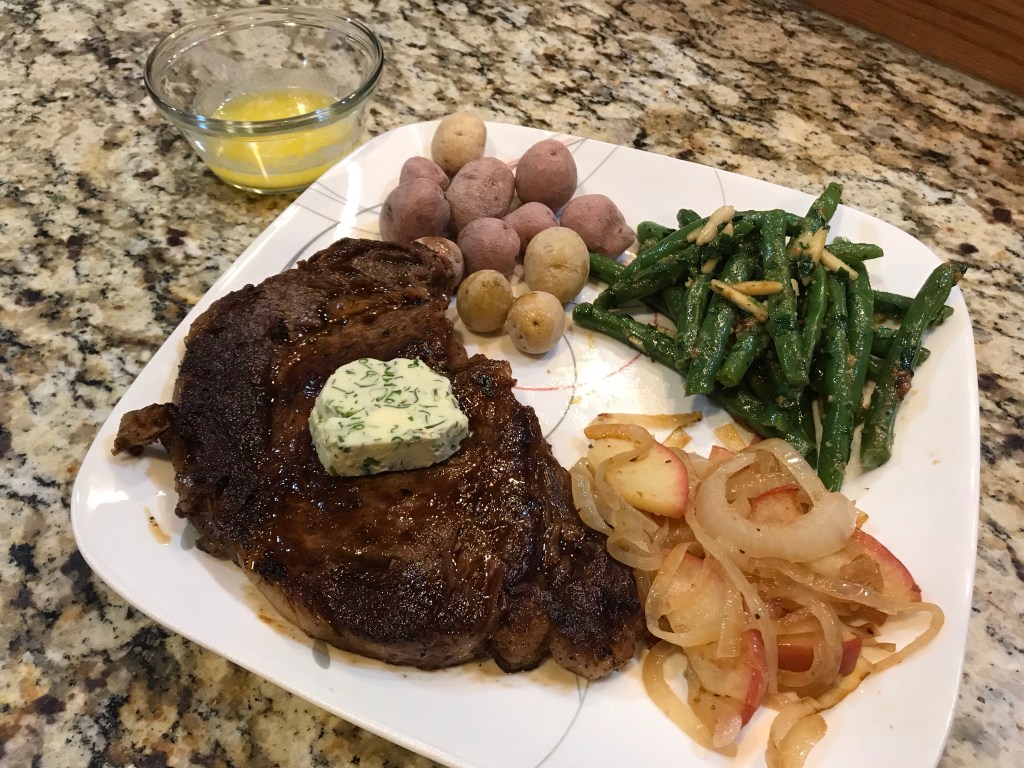
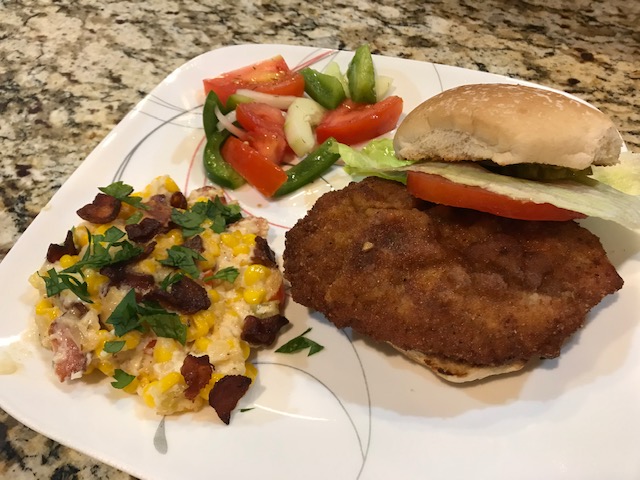
Indiana conjures up images of high school basketball, sprawling farms, and fields of corn as far as the eye can see. I also think of hearty meals and evenings on the porch swing, watching the sun set. And one thing that can be said for this meal, it was HEARTY but also delicious! A perfectly crispy fried pork tenderloin sandwich with a rich, creamy corn and bacon casserole and some zippy, vinegar-based tomato salad make a meal fit for a star athlete or a farm hand coming in to rest his weary bones.
Tips and Tricks
- Always start cooking bacon in a cold pan. Place the raw bacon in a cold pan and then put the pan over medium-low heat. This will reduce oil splatter.
- Never dump bacon grease down a drain. Collect it in a small container for later cooking use or dump the grease (AFTER IT HAS COOLED!) on several paper towels in the trash can.
- I always use frozen corn kernels in recipes that call for fresh corn. Fresh corn is great, but it is VERY messy to get off the cob. Never used canned corn for fresh corn applications.
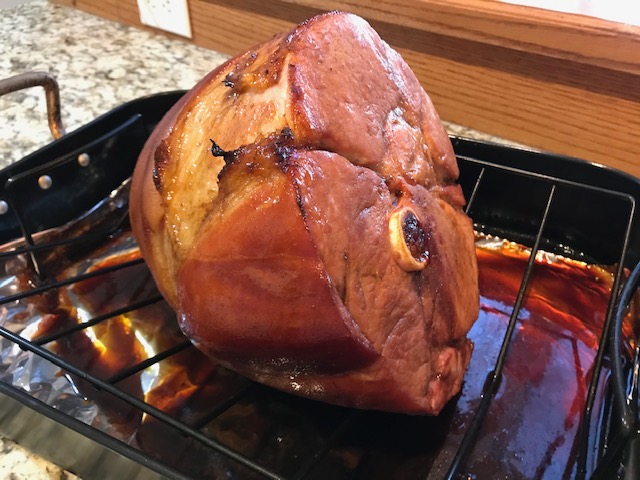
- You can buy a whole pork tenderloin and carve it up, but I used boneless pork loin chops (it’s the same thing without the waste!)
- The original recipe called for the seasonings to be mixed in with the milk and egg, but I mixed all of the seasonings together and rubbed it into the meat. This results in a better flavor as the spices stay on the meat instead of sinking to the bottom of the bowl in the wet portion of the breading process.
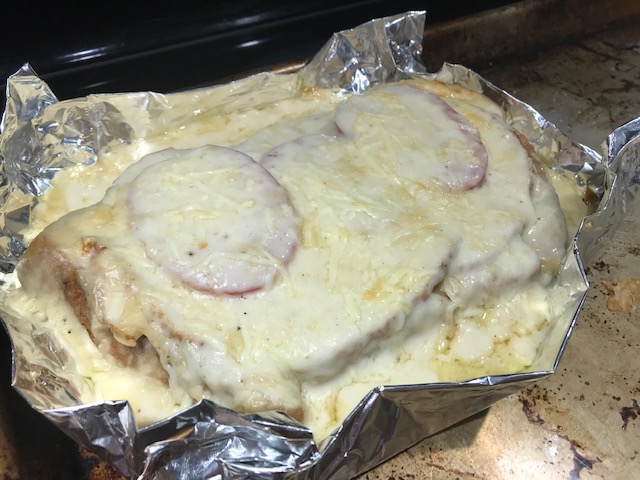
Traditional Indiana Breaded Pork Tenderloin Sandwich
- 4 (4 oz) Pork Tenderloin Chops, fat removed and pounded to 1/4″ thick
- 1 Egg, beaten
- 2 Tbs Milk
- 1/4 tsp Garlic Powder
- 1/4 tsp Onion Powder
- 1/4 tsp Celery Salt
- 1/4 tsp Dried Marjoram
- 1/4 tsp Dried Oregano
- 1 tsp Salt
- 1/4 tsp Freshly Ground Black Pepper
- 1 1/2 Cups Plain Breadcrumbs
- Peanut Oil, for frying
- 4 Kaiser Rolls
- Options Toppings: Mayonnaise, Ketchup, Mustard, Sliced Tomatoes, Lettuce, Pickles
Step 1: In a small bowl, whisk together the garlic powder, onion powder, celery salt, dried marjoram, dried oregano, salt, and pepper. Sprinkle each side of the flatten pork chops with the seasoning blend and gently run into the meat.
Step 2: In a medium bowl, whisk together the egg and milk.
Step 3: In a large bowl, add the breadcrumbs.
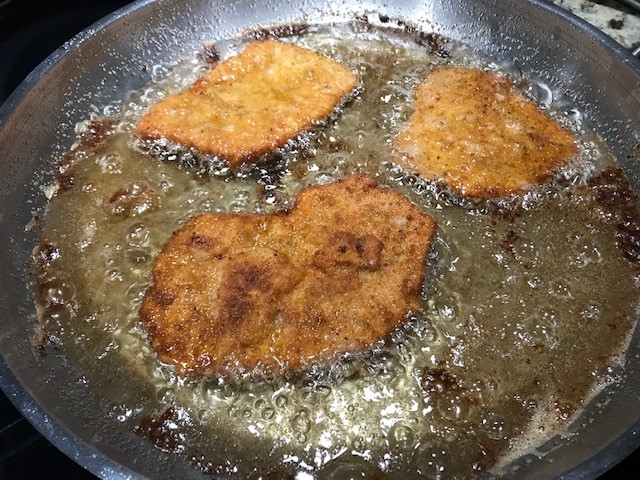
Step 4: Place a large skillet with high sides on the oven and add enough peanut oil that it comes halfway up the sides on the pan. Heat the oil on medium-low until it starts to shimmer.
Step 5: While the oil is heating, it is time to bread the pork. First, take a seasoned pork chop and dip it completely in the egg and milk mixture. Allow the excess to drip back into the bowl. Then, place the pork in the breadcrumbs and cover the cutlet completely. Gently shake off any excess. Repeat with the remaining pork portions.
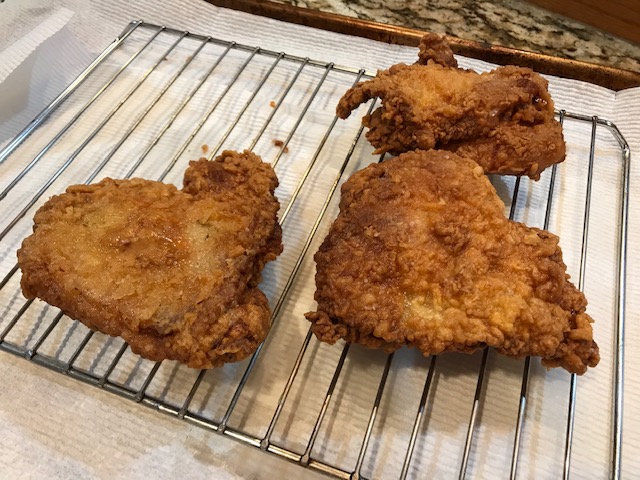
Step 6: Once the pork is breaded and the oil is hot, add the cutlets gently to the hot oil, being sure to keep space between all pieces of meat. Fry in batches if necessary. Fry for 4 minutes and then gently flip the pork over and fry the other side for 4 minutes or until the outside is golden brown.
Step 7: Once cooked, remove the meat from the oil and allow to drain on a wire rack positioned over some paper towels.
Step 8: Once completed, place a piece of pork on a kaiser roll and top as you wish.
Step 9: Enjoy!
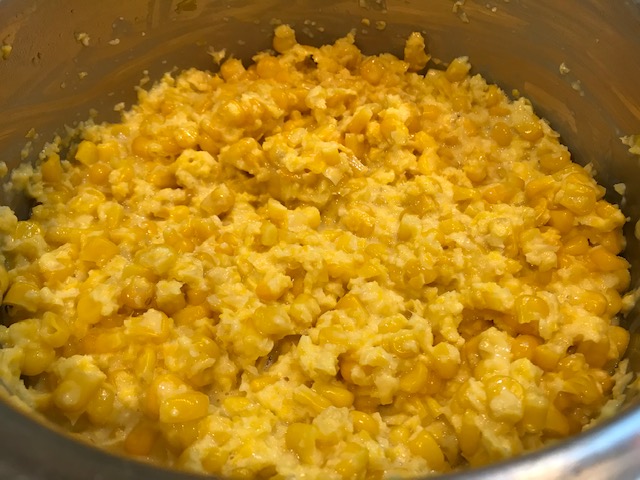
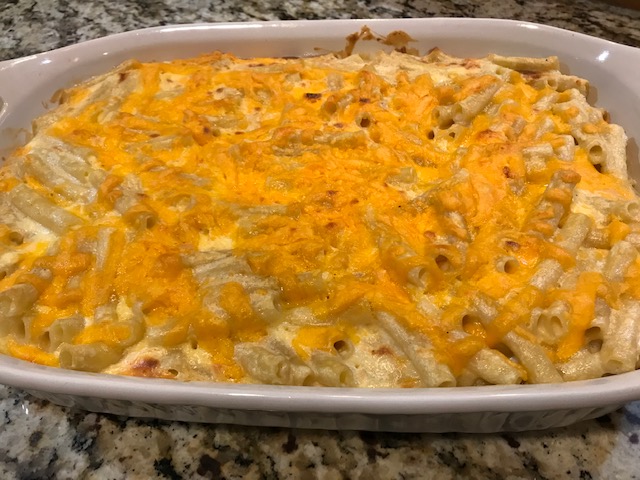
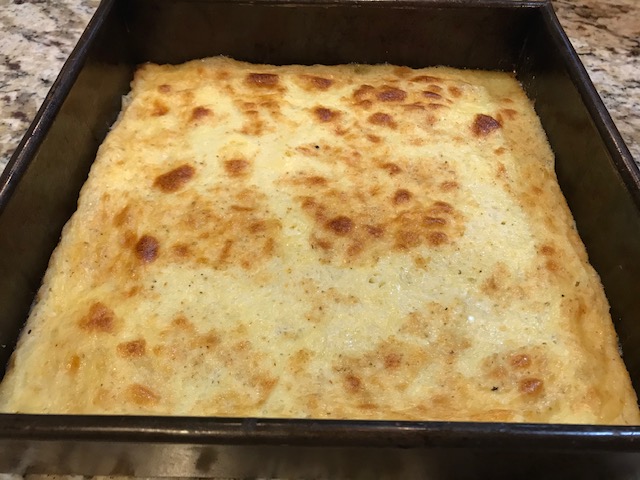
Hoosier Corn Casserole
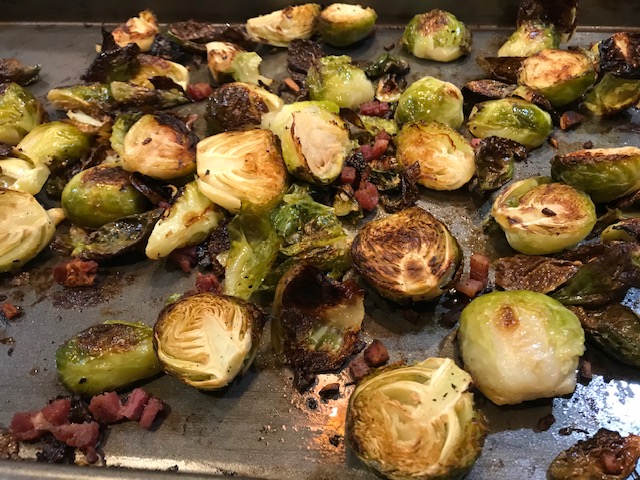
- 1 lb. Bacon, cut into small pieces and cooked until crisp
- 1/2 Cup of Butter
- 1/2 Medium Yellow Onion, peeled and finely chopped
- 1/2 Cup Celery, finely chopped
- 1 Red Bell Pepper, stem and seeds removed, chopped
- 5 Tbs All-Purpose Flour
- 2 Cups of Sour Cream
- 2 lbs. Fresh or Frozen Corn Kernels
- Salt and Pepper, to taste
- Handful of Fresh Parsley, leaves only chopped for garnish
Step 1: Preheat the oven to 350 degrees.
Step 2: Place a large pot over medium heat. Once the pot is hot, add the butter and allow to melt. When the butter has melted, add the onions, celery, and bell pepper and cook, stirring frequently, until the vegetables are tender, about 10 minutes.
Step 3: Stir in the flour and mix to combine. Then, add the sour cream and stir until smooth.
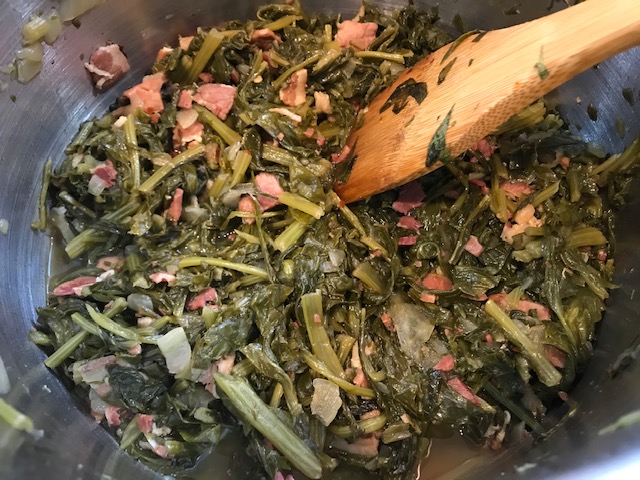
Step 4: Add the corn and 3/4 of the cooked bacon to the pot and stir to thoroughly combine.
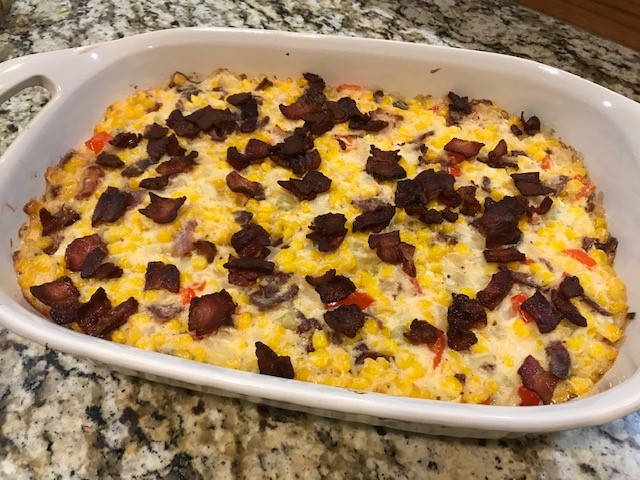
Step 5: Once combined, pour the corn mixture into a 9″ x 13″ casserole dish and sprinkle the remaining cooked bacon pieces evenly over the top.
Step 6: Place the casserole into the hot oven and bake for 45 minutes.
Step 7: Once baked, remove from the oven and garnish with fresh parsley.
Step 8: Serve hot.
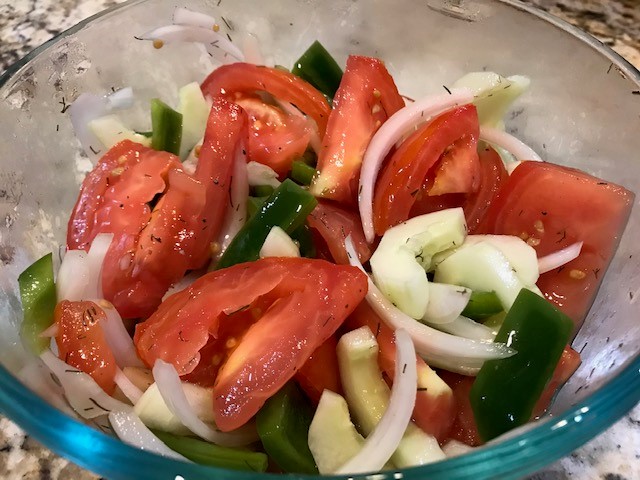
Tomato Salad
- 2 Large Tomatoes, cut into small wedges
- 1 Green Bell Pepper, stem and seeds removed and sliced into strips
- 1/2 Sweet Onion, peeled and thinly sliced
- 1/4 Cup Apple Cider Vinegar
- 1 Tbs Water
- 1/2 tsp Dried Dill Weed
- 1/2 tsp Whole Mustard Seed
- Dash Salt
- 1 tsp Sugar
- Dash of Cayenne Pepper
- Dash of Freshly Ground Black Pepper
- 1/2 Cucumber, peeled, seeded, and thinly sliced
Step 1: In a medium bowl, place the tomato wedges, green pepper, and onion.
Step 2: In a small saucepan, whisk together the apple cider vinegar, water, dill weed, mustard seed, salt, sugar, cayenne pepper, and black pepper. Place the pan on high heat and bring to a boil. Boil at high heat for 1 minute.
Step 3: Once the liquid has boiled for 1 minute, remove it from the heat and immediately pout it over the tomato mixture. Stir to combine, cover, and place in the refrigerator overnight or at least 8 hours.
Step 4: Before serving, mix in the sliced cucumbers.
Step 5: Serve cold.
Fun Facts about Indiana: 1. Indiana produces more than 20% of the United States’ popcorn supply. In a typical year, almost half of all cropland in Indiana is planted in corn. 2. During Prohibition, the Al Brady and John Dillinger gangs were patrons of The Slippery Noodle Inn in Indianapolis, one of Indiana’s oldest bars, established in 1850. The gangs used the rear building (originally the horse stable) for target practice. Today, several bullets remain embedded in the lower east wall. 3. The first successful goldfish farm in the United States was opened in Martinsville in 1899. 4. Explorers Lewis and Clark set out from Fort Vincennes on their exploration of the Northwest Territory. 5. Marcella Gruelle of Indianapolis created the Raggedy Ann doll in 1914. 6. The first professional baseball game was played in Fort Wayne on May 4, 1871. 7. Santa Claus, Indiana receives over one half million letters and requests at Christmas time. 8. In 1862, Richard Gatling, of Indianapolis, invented the rapid-fire machine gun.